Minichopper Neck
We spent a long, exciting evening working on what may be the most crucial joint in the entire mini-chopper. This is where the two frame tubes join to each other and to the “neck” — a short tube which will hold the front forks. There are several challenges here. The frame tubes must be joined solidly to each other, and then a hole must be bored through the joint for the neck. It all seems simple until you try to do it, and find out that there are compound angles and no room for error.
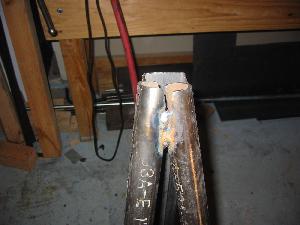
Here is the basic neck joint. It doesn’t look all that amazing, but that’s ok since most of it will be drilled out.
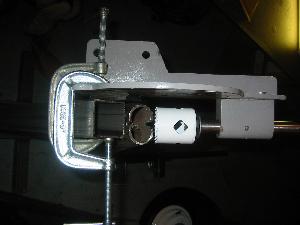
Here is a top view showing the tubing notcher clamped into place and about to drill the hole for the neck tube:
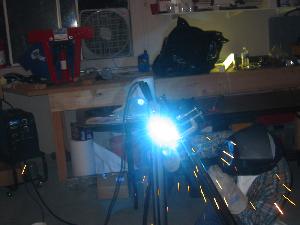
Here is Stephen welding in the support piece shown in the next photo. The welder really is *that *bright:
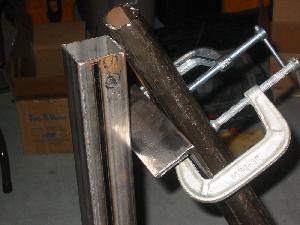
Here’s a genuine innovation. When we started to drill the neck hole, we found that the rails would move in relation to the jig. After trying various ideas, we simply welded this piece of angle iron to the upright portion of the jig. It may appear to be mounted on a knife edge, but its really quite solid. We then clamped this piece to the rails and ended up with one solid piece.
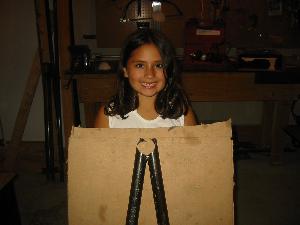
Here’s the finished hole, illustrated by our lovely supermodel Grace. It looks a little bit off-center; part of that is the picture and part of that is because it is off-center. A few minutes with the angle grinder will fix this up.
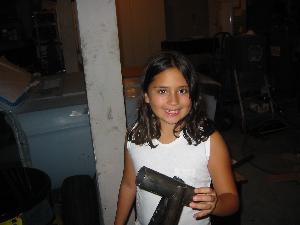
Finally, here is how the neck will fit between the rails. We’ll need to make sure that it is aligned laterally with the frame. We were thinking of using some green lasers (because they are cool and because the beam is visible), but a long piece of pipe may have to do. We’ll adjust the final angle in order to set the wheelbase.
And that’s about it. Next step is to weld the neck in to place, and from there we can really get cranking. We’re pretty sure that this was the most difficult part of the project (famous last words).