Second Life Scripting – The Garage Door Script
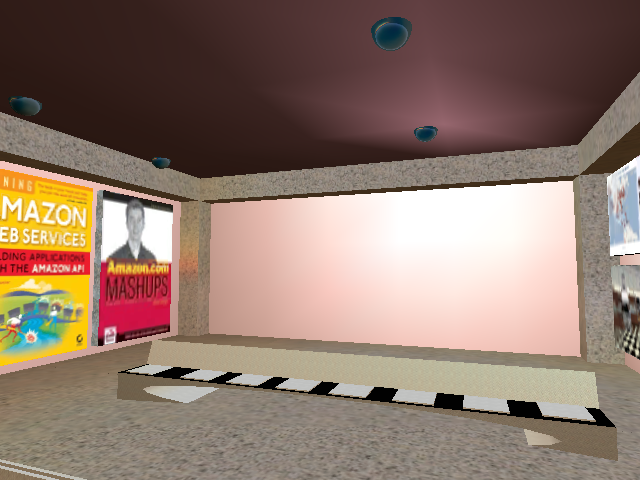
Tonight I’d like to show you how to create a simple electric garage door in Second Life. This simple object will open or close when touched (clicked with the mouse). Here’s the open door:

And here’s the closed door:
It is actually really easy to create such a door. There’s no math involved, but you will need some paper and a writing implement.
First, create the door in what you would like to be the open position. Then open up the Edit window, select the Object tab, and write down the door’s Position (all three values, X, Y, and Z) and Rotation (again, all three values, X, Y, and Z). Here’s the edit window, with the Position and Rotation in the lower left:

Next, move and rotate the door to the closed position, and write down the new Position and Rotation.
Select the Content tab of the Edit window and click the New Script button. Double-click on the name of the newly created script to open up the script editor window. Click in the editor window, then select the default script, and delete it.
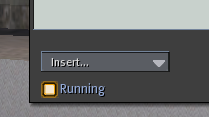
Turn off the Running flag in the lower left corner of the script editor window. This is simply a precaution to ensure that your door won’t fly away!
Paste the following script into the window, but don’t close the window yet:
The position and rotation in this script will work for my garage door, but not for yours. Now you need to customize the script. Look at the top of the script, and find the following lines:
The variables OpenPos and OpenRot represent the position and rotation of your door when it is open, respectively. Guess what ClosedPos and ClosedRot represent?
Ok, now you need to carefully edit the X, Y, and Z values between the < and the > on each line. Do this with much care, or you will lose your door! If you put in bad values, your door could land in the next town over! Been there, done that.
Delete the existing values from the first line of the script and replace them with the values you wrote down for your door’s open position. Continue on to the second line and replace the existing values with your door’s open rotation. Once you’ve done this, do the same for the other two lines, but this time use the values that you wrote down for the closed position.
Check, re-check, and check again that you have entered the values correctly. Once you are sure, turn the Running flag back on and click the Save button in the bottom right corner. If all goes well the following messages will appear:
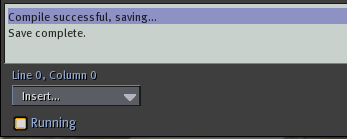
If you missed a comma or deleted one of the angle brackets, you may see an error message instead. Fix the problem and click Save again until you get it right.
Now let’s try our your new door! Exit from Editing mode and then click on the door. It should move to its closed position and rotation. Click it and and it will move to its open position and rotation.
And that, my friends, is all that it takes to create a garage door.
If your door is so big that it has to be made from more than one prim, don’t fret. Choose one prim to be the master and get it to open and close as desired. Then link the other prims to the master (taking care to click the master last).
Ok, I am falling asleep at the keyboard, so that’s all I’ll be writing tonight. Let me know (with a comment to this post) how this works for you.