Dynamic System Modeling in Second Life
For the last couple of months I’ve been trying to wrestle an abstract picture out of my head and in to Second Life. This is apparently easy for some people, but it has been a real struggle for me.
The concept was pretty simple. I wanted to create a dynamic, working model of a complex system built using the Amazon Web Services. I wanted to do something more interesting, more direct, more engaging, three-dimensional, and more thought-provoking than a traditional system architecture diagram on a static slide. The specifics of what I wanted weren’t (and still may not be) totally clear but I envisioned data flowing between Amazon Elastic Compute Cloud instances using Simple Queue Service instances, data moving in and out of an Amazon Simple Storage Service bucket, all while the number of Elastic Compute Cloud instances grew and shrank according to demand.
My first attempt to realize this model in Second Life prims (primitive building blocks) looked like this:
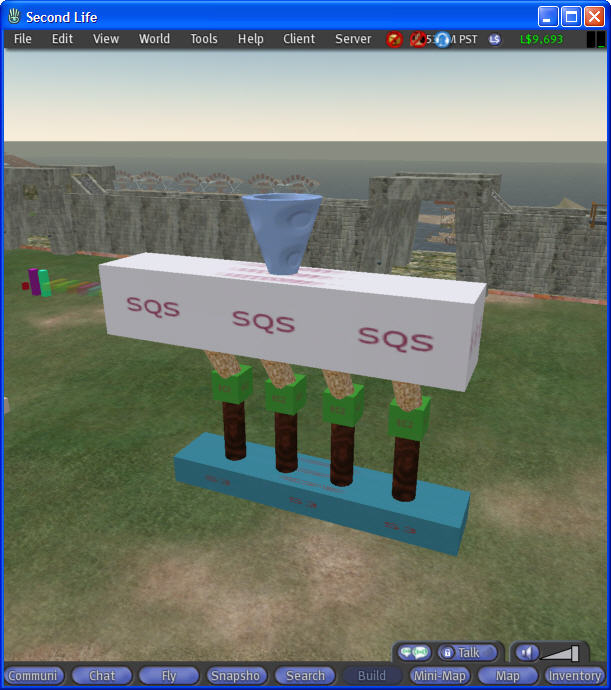
The top of the model was supposed to be a giant funnel, where work poured in, to be processed through the system. I couldn’t figure out how the various parts were supposed to scale in response to load and capacity and this version never progressed beyond a visual model.
I continued to sketch out the same architecture in different ways. After a while I came up with this:

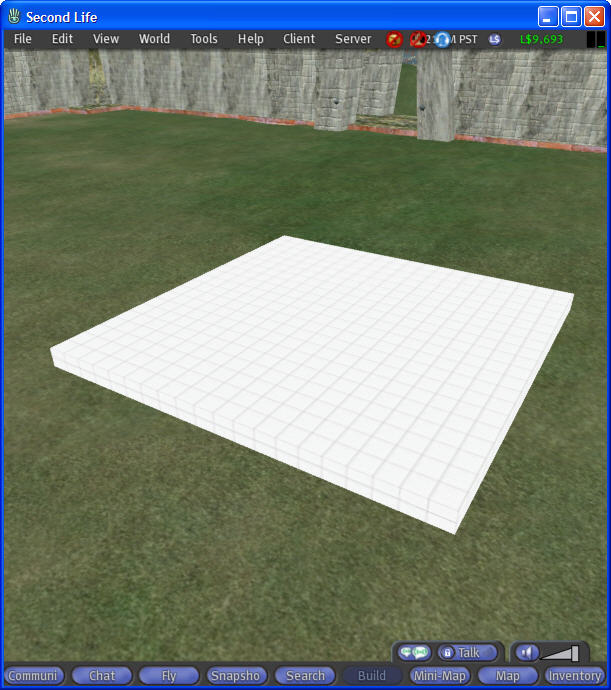
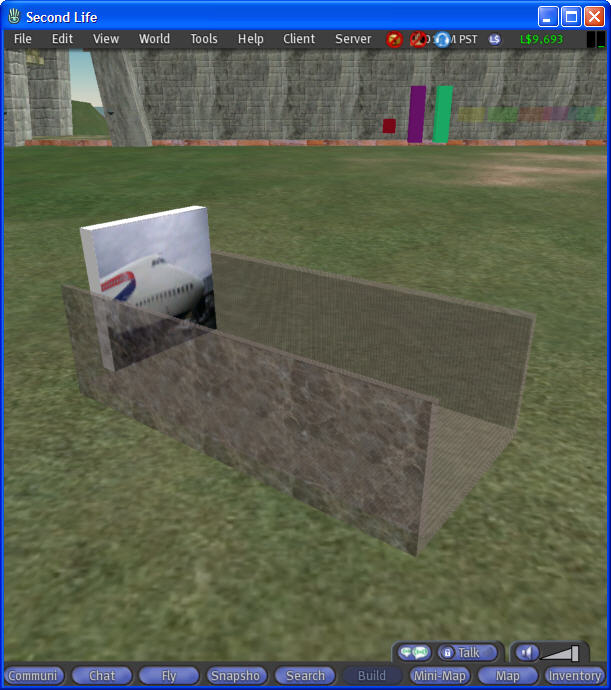
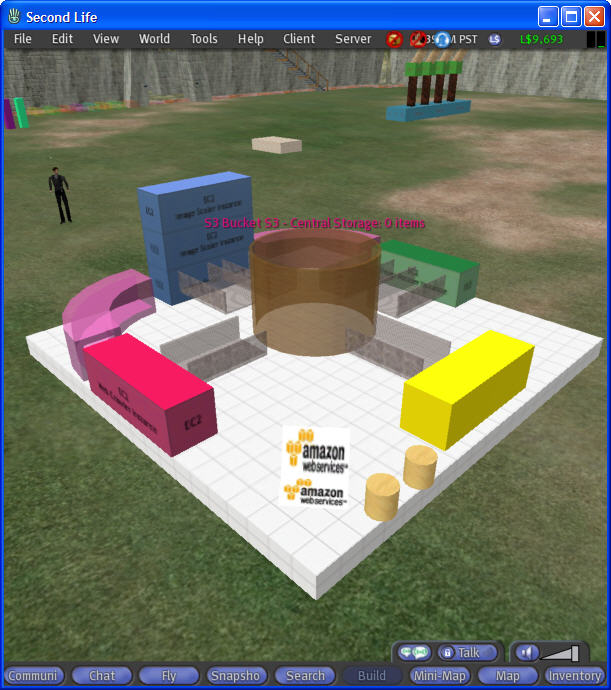
I figured that I could render this in 3D and then scale the EC2 instances vertically. This seemed like it would work and so I set out to build and to script each component. I started with a raised floor:
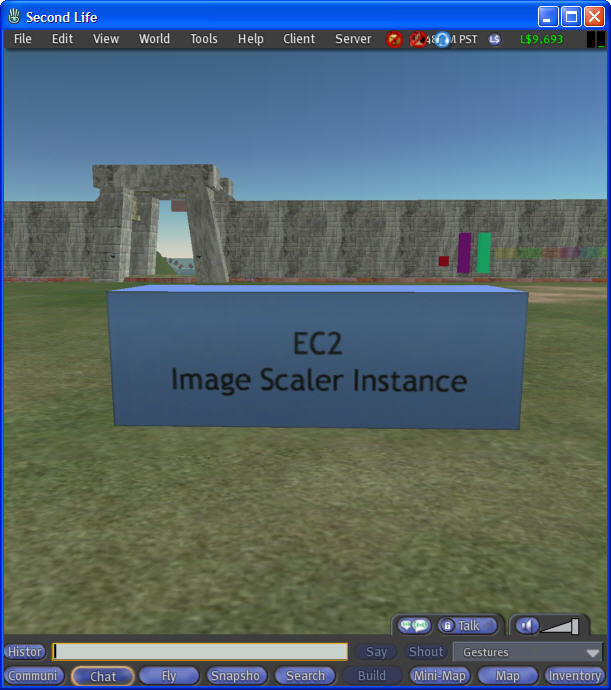
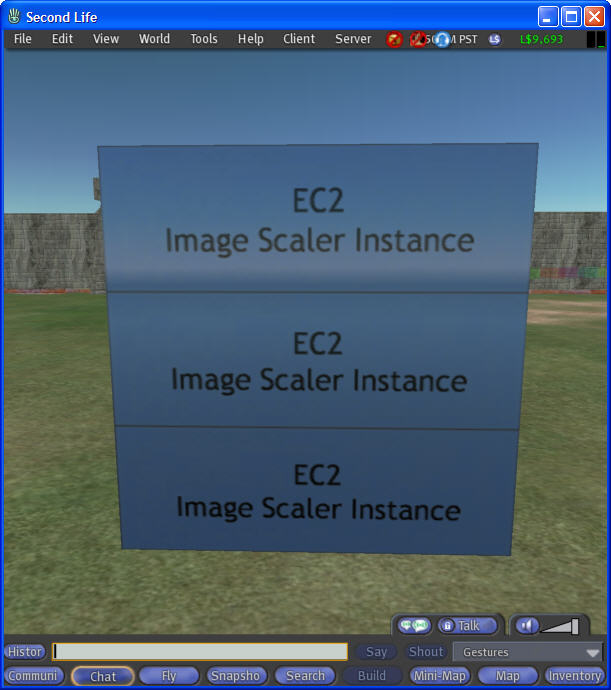
Each scalable group of EC2 instances is represented by a single Second Life prim. Instead of creating and destroying prims on the fly (or hiding and showing them) I simply altered the size and position of the prim and then recalculated the texture parameters to make the texture repeat vertically to make it appear to be composed of stacked blocks.
As I designed and built each component I also wrote the Linden Scripting Language (LSL) scripts for each one. I established a convention that each component would listen on a dedicated chat channel (1000, 1001, and so forth). However, I wanted to have a series of generic scripts (one for each type of component) so I couldn’t simply hard-wire the channels into the scripts. Instead, I stored the channel number in the prim’s Description field and then simply fetched it in the reset logic for the script:
Each type of component knows how to handle a set of messages. Here’s the message roster for the EC2 component:
| Reset | Reset to 1 running instance |
| ScaleUp | Add another running instance |
| ScaleDown | Remove a running instance |
| ScaleMax | Scale to max instances |
| Glow | Highlight the instances |
| NoGlow | Don’t highlight the instances |
Because the components communicate with each other using messages, it was very easy to interactively test them as I built them by sending chat messages on the configured channel like this:

With the EC2 instances working I built some storage channels to move data back and forth. I created the channel and data item prims and linked them together, with the channel as the parent. This allowed me to manipulate the child (data item) prim using code running in the parent. Here’s my artistically deficient version of a data channel:
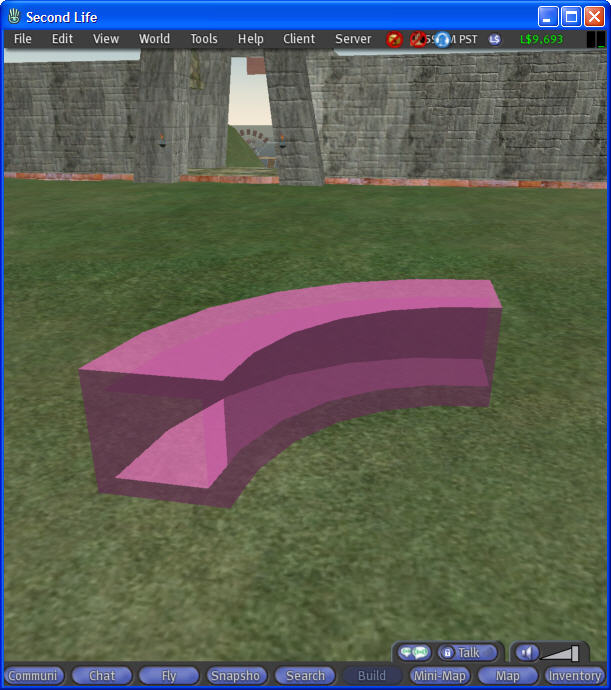
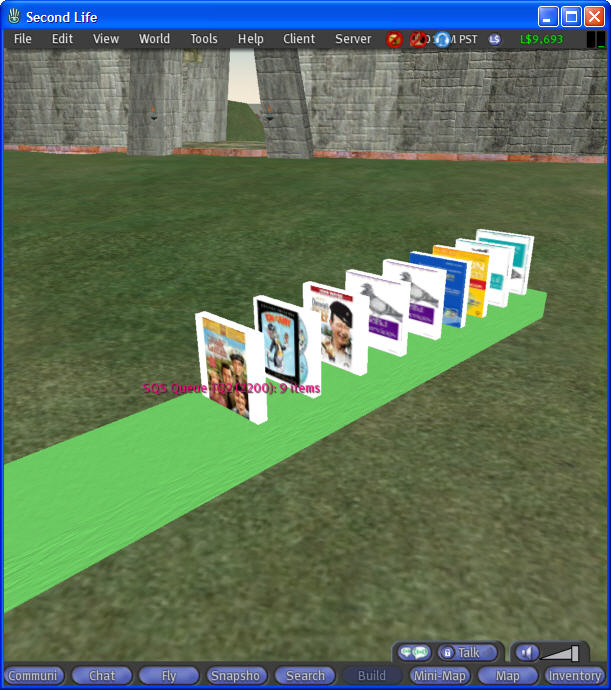
I then built some objects to represent Simple Queue Service (SQS) instances. Using the parent-child model once again, this time using the queue as the parent and the queue items as the children, I made the items visible or invisible as needed. This worked fine, although it is a bit sluggish. For reasons that I don’t understand, LSL imposes a short (0.2 second) delay after certain operations. At some point I will rework the queue code to send messages to the child prims, which can then act on their own to alter their appearance, hide, show, and so forth. I have a visual design for the queue (first picture) and another mockup that’s actually functional (second picture). I need to write come code to position the items within the visible section of the queue’s arc in order to use my original design. Nothing too complicated, but still on the TODO list.
The last piece to model was the Amazon S3 storage bucket. This was really simple, and I was able to reuse some of the code that I had written for the queue. One thing that I should mention is that it is really easy to deal with images in Second Life. When an image is uploaded it gets a UUID (Universally Unique Identifier), which are known as keys in LSL. It is easy to pass these keys around using function calls and messages. It is also very easy to determine the key of an object in inventory — simply right-click and choose Copy Asset UUID:

I tried to make the S3 object look like an actual bucket (Dear Santa: Please bring me some art lessons this Christmas):

Putting it all together, it actually looked very similar to my original diagram (above):
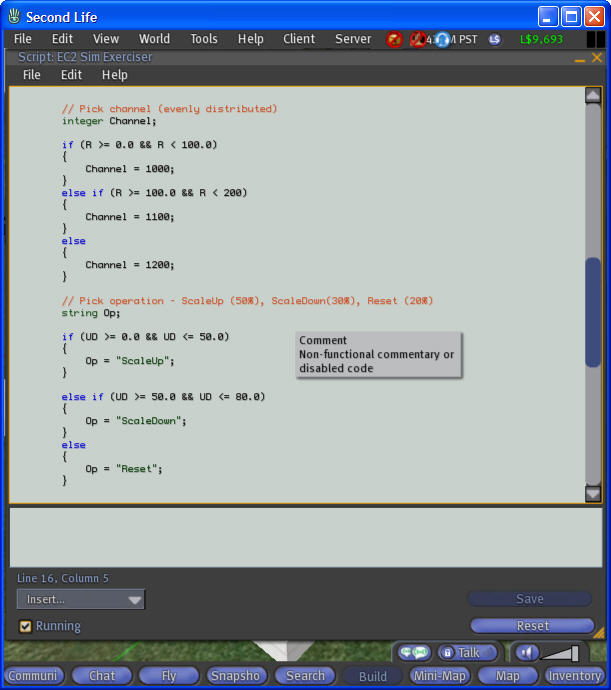
The final step for phase 1 of this working model was to make it actually dance and sing! I built a simple controller which randomly sends out messages to the various components. Data moves through the pipelines, items move in and out of storage, and the number of EC2 instances grows and shrinks. Here’s a snippet of the code:
I got it all working and made a little movie to commemorate this momentous occasion:
Believe it or not it took me over 2 hours to make this little 2 minute marvel. I used a tool called FRAPS to capture the raw video, paying $37 for a full version. Using the tried-and-true trial and error method I resized the Second Life client so that it was 1280 pixels wide and 960 high. I then set FRAPS to record at half size, resulting in a video file with a resolution of 640 by 480.
I started out by writing a script for each segment and then recording it in audio form using the Windows Sound Recorder. Once I was happy with each segment I noted its length and (after several practice sessions) used FRAPS to record my avatar in Second Life. It was very difficult to manipulate my avatar and the Second Life camera simultaneously. Next time I will use two computers, and perhaps hire a Second Life resident to run the camera. With the audio and the video segments ready to go, I loaded them into Windows Movie Maker, did a bit of fiddling around, and then exported the finished file using the “Video for Broadband (512KBPS)” setting.
So, there you have it. I’m not all the way there yet, but I’ve come a long way in just a few hours (spread out over way too many months). As always, your comments, thoughts, and feedback are appreciated.